Filing Your Nails Wrong Until the Tips Split: 5 Habits Nail Techs See All the Time
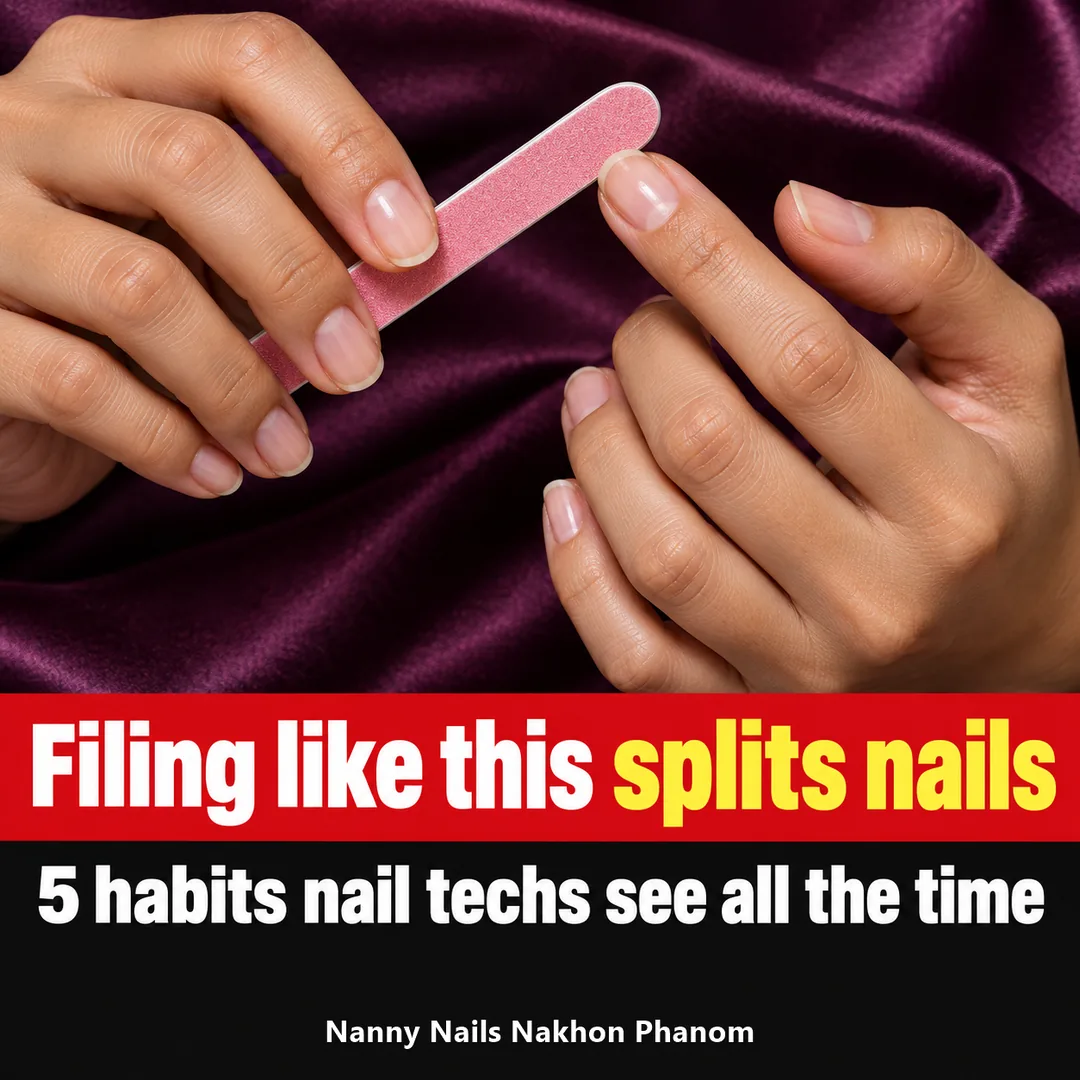
It is Sunday night. You are half watching a drama, file in hand, sawing quickly back and forth until the shape looks tidy. On Monday your index nail snags on your shirt with a little rip. Up close, the edge is white and fuzzy and has come apart into thin sheets, like damp paper. Many people put it down to having thin nails. Part of the real answer is the way the nail was filed. This article covers the 5 filing habits nail techs see most often, why each one makes the tip split, and what to do instead.
The good news is that this is fixed by habit, not by buying anything expensive. With the same file you already own, held and moved the right way, the edge can get smoother within a few rounds of new growth. For tips that have already split, there is a way to look after them so the split grows out instead of spreading. That part is near the end.
Why do nail tips split into layers?
A nail is not one solid sheet. It is many thin layers of keratin pressed tightly together, a bit like several sheets of paper glued into one. In the middle of the nail those layers hold together well. At the free edge, the part that sticks out past your fingertip, nothing supports them, so that is where they come apart most easily.
Splitting at the tip into layers has a technical name, onychoschizia, and is linked to hands that are often in water and detergent. Too much water exposure weakens nails and can make them split, peel or break.
When an already soft nail meets a file used the wrong way, an edge that should be one smooth piece gets pried apart a little at a time. You can barely see it on day one, but that small fuzz is where a split starts. Catch it on fabric or hit a keyboard hard and the split runs further into the nail. That is why nail techs care about how they file as much as which colour you choose.
Habit 1: sawing the file back and forth
This is the one nail techs see most, and the one people do without thinking the most. Sawing back and forth feels fast, and the shape does appear quickly, but the edge it leaves is rough.
Picture the nail as layers of paper. When you pull the file one way, the layers are pushed that way. When you pull it back, the same layers are dragged the other way. After dozens of strokes like that, the layers at the edge loosen and separate. We always tell customers: file in the same direction, because filing back and forth can weaken your nails.
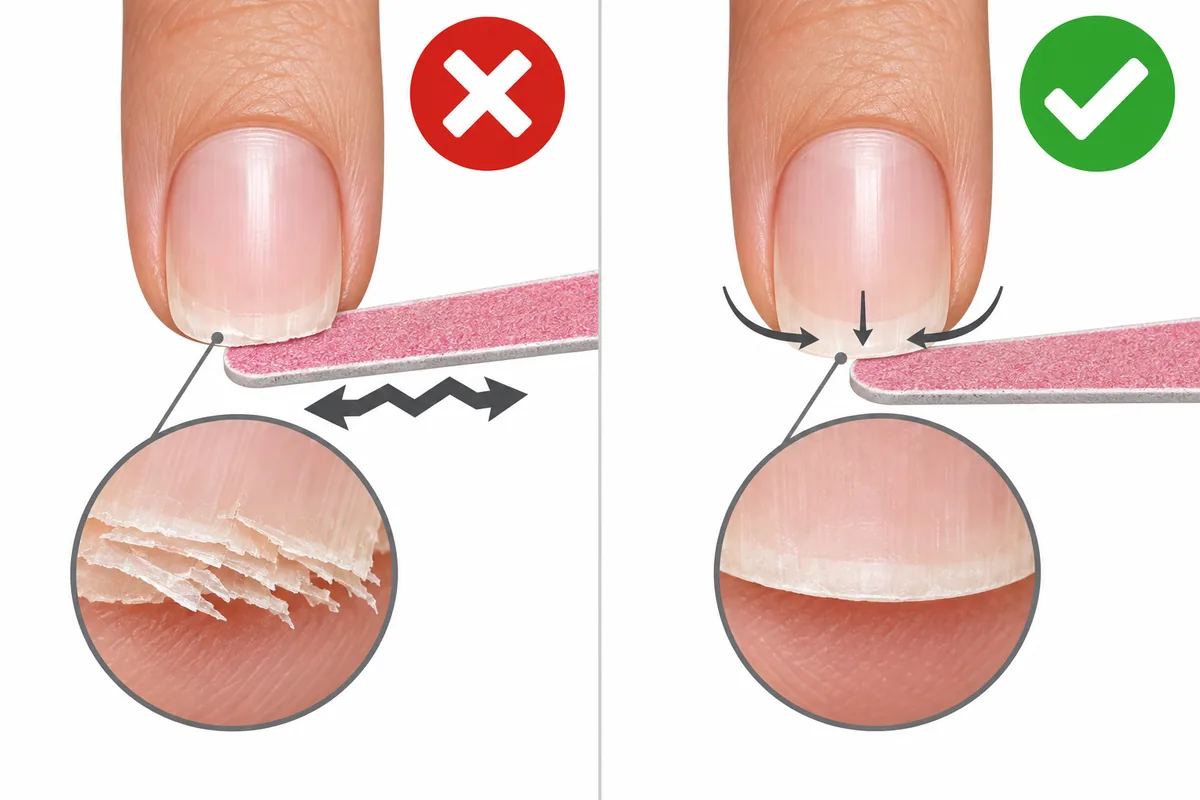
What to do instead Place the file at the outer corner of the nail and draw it toward the centre of the tip in one direction, then lift it off and go back to the start. Repeat until you have the shape, then do the other side the same way. It takes a little longer, but the edge stays as one smooth piece. Use a light touch and let the file do the work.
Habit 2: using a file that is too coarse for natural nails
Nail files are not all the same, and the toughest looking file is not the kindest to your nails. Nail techs often see people using a rough metal file, or the coarse side meant for artificial nails, on their own natural nails. A coarse file removes nail quickly, but it tears the edge more than it cuts it, so the edge is fuzzy from the start.
The files you are most likely to see are these.
- Emery boards Flat boards with grit on a card or foam core, in different grades. Easy to find and cheap, and good for smoothing rough edges.
- Glass files A very fine surface that leaves the edge smooth. Washable and long lasting, but they can break if dropped.
- Metal files Very durable, but usually rough and sharp. On natural nails that are thin or dry they often make the edge split more easily.
- Coarse files for artificial nails Made for shaping false nails or gel, which are much harder than natural nail. Not for natural nails.
Many files print a grit number on the board, such as 100, 180 or 240. The higher the number, the finer the surface. In the nail trade, 180 or finer is the usual choice for natural nails, and higher still for thin or brittle nails. Low numbers like 80 or 100 are for artificial nails.
Buying a nail file at 7-Eleven or a convenience store
Plenty of people in Thailand search for a nail file at 7-Eleven because they want one right now. Convenience stores, pharmacies and general stores sell several kinds. A few things are worth checking on the shelf.
- Choose an emery board or a glass file over a rough metal one.
- Look for the grit number on the board or the pack. If there is one, use 180 or higher on natural nails. If there is none, run a fingertip over it. A surface that feels like rough sandpaper is not for thin nails.
- If it is a two-sided file use the fine side on natural nails and leave the coarse side alone.
- Keep your file to yourself Do not share it, tap the dust off after use, and replace it once the surface wears smooth, because a dull file makes people press harder without noticing.
Habit 3: filing while nails are wet or soft from water
After a shower, washing dishes or a long soak, nails take up water and soften. That is a good time to clip them. The best time to trim your nails is right after a bath or shower, because they are softer and easier to cut.
For filing, though, nail techs wait until nails are dry. A nail softened by water bends with the file, and the layers at the edge separate more easily than when dry. Instead of smoothing the edge, the file lifts the layers apart, so the edge ends up fuzzier and more layered than before.
What to do instead If you want to do both on the same day, clip the length after your shower while the nail is soft, then wait until your hands are completely dry before shaping and smoothing with the file. Dry the top of the nail and under the tip before you start.
Habit 4: filing instead of clipping, and filing deep into the corners
These two usually come together. The first is when nails are much too long and, rather than clip them, people file them down bit by bit. That takes a huge number of strokes. The longer it goes on, the more friction the edge takes, and most people start sawing back and forth because their hand gets tired, which brings us back to habit 1.
The second is filing deep into both corners to make the tip look slimmer or pointier. The sides of the nail next to the finger are what give it strength. File too far into them and you leave a narrow strip in the middle that breaks or cracks at the corner at the slightest knock. At the salon we only round fingernail corners slightly with a file, which keeps them strong and stops them catching on things.
For toenails, never file or cut deep into the corners. Cut toenails straight across, because rounding toenail corners deeply is a major cause of ingrown toenails. There is more on this in Cutting your nails wrong until they grow in.
What to do instead Take off the extra length with sharp scissors or clippers first, leaving a little to spare, then use the file to finish the shape and soften sharp points. For tapered shapes like almond, the taper has to come from the length that extends past the fingertip, not from filing into the sides. How to file each shape safely is in our separate guide, How to file a nice nail shape: square, round or almond.
Habit 5: buffing the nail surface too often, with a shine buffer or a nail drill
This last habit does not happen at the tip. It happens on the surface of the nail, and it makes the tip split more easily as a result.
Shine buffers
A shine buffer is usually a multi-sided block you work from coarse to fine until the nail gleams as if it had a top coat. People love it because the nail looks tidy with no polish. What many do not realise is that the shine comes from buffing away a very thin layer of the nail surface. Every time you buff, the nail gets a little thinner. Filing the natural nail surface until it feels rough thins the nail and makes it weaker. The same idea applies to frequent buffing.
A shine buffer is fine if you use it rarely, with a few light strokes, and skip it entirely if your nails are already thin or brittle. If you want shiny nails every day without buffing, a clear gel or a base coat gives the gloss without taking any nail away.
Nail drills
A nail drill spins fast and removes nail many times quicker than a hand file. In the hands of a trained tech, with the right bit and a light touch, it is a useful tool. The problem nail techs see often is people buying one to use at home and treating the natural nail surface the way they would treat an artificial nail, holding it in one spot too long until the nail is thin in a patch, feels hot or stings, or shows ring marks.
If you use a nail drill at home, use it only to tidy the free edge, on a low speed, with a fine bit, keep it moving, never hold it in one place, and stop as soon as you feel heat. Work on the nail surface, such as taking old gel off, is best left to the salon. For removing gel safely yourself, see Can you remove gel nails at home?
Filing your nails right, in one minute
Here is how nail techs file every day, in a form that is easy to remember next time you pick up a file.
- Dry hands Clip after a shower if you like, but file once the nail is dry.
- Clip first, file after Scissors take off the length, the file only finishes the shape.
- A fine file An emery board of 180 grit or finer, or a glass file.
- One direction From the outer corner toward the centre, lift, start again. No sawing.
- A light touch Let the file work, do not press.
- Leave the sides alone Round the corners just slightly.
- Finish with cream Rub hand cream or a nourishing oil into the tip and the skin around the nail.
As for which shape to file, square, squoval, round, oval or almond, and which suits which fingers, read on in How to file a nice nail shape.
My nail tips have already split. What now?
Layers that have come apart will not stick back together. That part has to grow out and be clipped off. Meanwhile, the goal is to stop the split going deeper.
- Do not pick or pull the lifted layers The more you pull, the further the split runs into the nail.
- Clip short, past the split then smooth the edge with the file in one direction. Keeping nails shorter helps prevent splitting and cracking.
- Moisturise the nail, not just the skin Nails lose water faster than skin, so use a heavy hand cream at bedtime and moisturising during the day after washing your hands or using sanitiser.
- Wear gloves for dishes and laundry so your nails are not soaked and dried again and again all day.
- Stop using your nails as tools Using nails to open cans or pick at things can chip, split or lift them.
Other habits that make nails brittle without you noticing, like picking off gel or using remover often, are covered in 6 habits that damage your nails.
If you have done all of this for several months and your nails keep splitting, or the splitting comes with thickening, colour change, pain, swelling, or many nails at once, this is no longer about filing. A doctor should take a look.
Can I get gel nails if my nails split easily?
Usually yes, as long as there are no cuts, swelling or inflammation around the nail. Before colour, we clip off the split part, smooth the edge, and apply a base coat under the colour on every job. The gel sealed over the free edge keeps the tip from catching on things while the new nail grows.
If your nails are so thin they bend easily, the salon can strengthen them before colour with a rubber base or a builder gel. The difference between the two is explained in Rubber base vs builder gel. For nails that are thick and yellow or look like they might have a fungus, we will not paint over them, because the nail process adds moisture that could help an infection spread. Please see a doctor first.
| Service | Price |
|---|---|
| Gel colour, hands, 1 colour | 200 baht |
| Gel colour, hands, 2-3 colours | 250 baht |
| Rubber base strengthening (colour not included) | 200 baht |
| Builder gel strengthening (colour not included) | 250 baht |
| Gel removal only, resting nails (shaping included) | 100 baht |
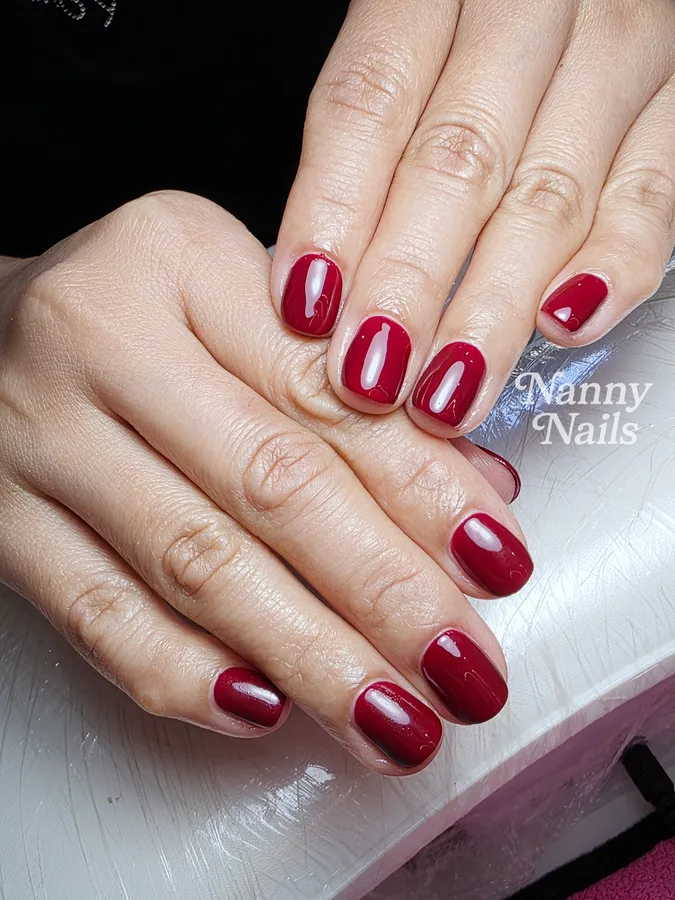
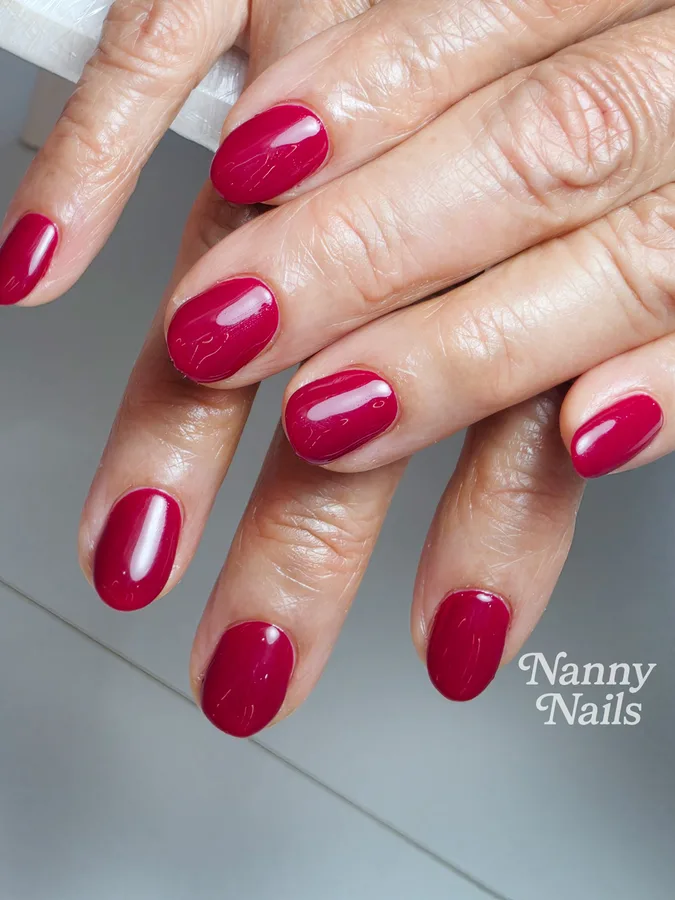
Gel colour prices already include nail trimming and shaping, base coat and top coat, so every job at the salon comes with a proper filing. See the full menu on our services and prices page. Every job is covered by our 7-day care period, so you can go home and use your hands as normal with peace of mind.
What customers say about how we shape their nails
(So beautiful. Good, detailed work, a plain colour that came out gorgeous. Exactly what I wanted. She is kind and shapes your nails with so much care. Highly recommend.)Google review by ภาณุพงศ์ ธรรมเสนีย์
(She has a gentle touch and does really good work. Immaculate. She followed exactly the design I wanted. I love it, it is beautiful, and I will keep coming back forever.)Google review by ส ส
Read all reviews on our reviews page.
Next time you pick up a file
Most tips that split into layers are not the result of bad nails. They come from small habits repeated every week: sawing back and forth, a coarse file, filing wet nails, filing into the sides and buffing the surface too often. Change just the first one, filing in one direction, and the edge looks different from the very first time. The rest you can adjust as the new nail grows.
To see how neatly shaped nails look once the colour goes on, browse real salon work in our gallery.
FAQ
How do I file my nails without splitting them?
File when your nails are dry, use a fine file, and draw it from the outer corner toward the centre in one direction, lifting it off each time instead of sawing. Filing back and forth can weaken your nails.
Which nail file is best?
For natural nails, a fine emery board or a glass file. If the board has a grit number, the nail trade usually uses 180 or finer on natural nails. Lower numbers and rough metal files suit artificial nails better.
Can I use a nail shine buffer often?
Better not. The shine comes from buffing off a thin layer of the nail surface, so the nail gets thinner each time. Use it rarely, lightly, and skip it if your nails are already thin or brittle.
Can I use a nail drill at home?
Only to tidy the free edge, on a low speed with a fine bit, always moving, never held in one place, and stop when you feel heat. Do not use it on the natural nail surface yourself, as it can thin the nail very quickly.
My nail tips split into layers. What should I do?
Do not pick the lifted layers. Clip short past the split and smooth the edge, use hand cream at bedtime and after washing, and wear gloves for dishes. If it does not improve after several months or comes with other symptoms, see a doctor.
What is the salon’s 7-day care period?
If work done at the salon lifts or peels within 7 days, bring it back and we will fix it for free.
Where is the salon and how do I book?
We are in Ban Noi Tai, Soi 7/1, Mueang Nakhon Phanom. Open every day, nail appointments 09:00 to 18:00, 3 bookings a day. Book on LINE @nannynails or call +66 99 002 8935.
Send us a photo of your nail tips first
Take a photo of your hands as they are now, with the tips clearly visible, and send it on LINE. We will help you decide how short to go, and whether gel colour straight away or a rubber base or builder gel first suits you best. You can send a design you like too. We take 3 bookings a day, between 09:00 and 18:00.
Read more